Whether you’re a commuter, living in residence, or moving into an apartment, personalizing your space is an integral part of university life. However, creating the perfect environment on a student budget can be challenging. Here are a few tips for constructing your ideal sanctuary that will leave you with enough money in the bank for Thursday pub nights.
The handy-person basics
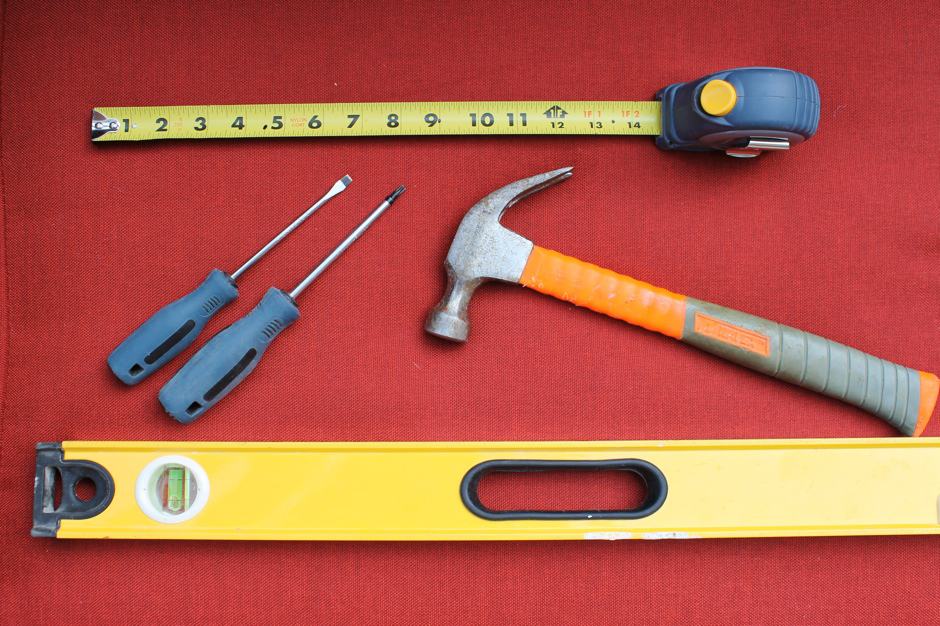
You may not be ready to build an addition off the back of your dorm, but there are a few basic tools that you should equip yourself with for minor household jobs and nightmarish Ikea furniture installations.
Screwdriver
The easiest option is to purchase a single screwdriver that comes with interchangeable bits to fit virtually any screw head. If, however, you’re purchasing individual screwdrivers, buying a slotted head and a Phillips screwdriver is a good place to start.
Hammer
You do not need anything particularly heavy-duty for the average home maintenance and do-it-yourself project. Look for a hammer that isn’t too large, since you’ll have to store it in your space. Hammers, though useful for hanging wall art, are most often used by students to take out frustration during furniture assembly.
Measuring tape
This is a must-have. You’ll thank yourself later when your furniture fits into your room perfectly while your roommate struggles to wedge their queen size bed through the door. The golden rule for student décor: measure twice, buy once.
Level
Levels come in all sizes, but you only need a small one for basic jobs. This tool will help you curate a perfectly straight wall art gallery and defuse any debates about whether the beer pong table is unfairly slanted.
TIP: Wood glue is a great way to make sure your Ikea furniture never falls apart. Simply apply a small dab of glue to the pegs when slotting the pieces together.
Walls of inspiration
Although it may be tempting to add a splash of colour to your apartment walls, try to refrain. You landlord will likely not be a fan of your artistic license, and the hours spent repainting when your lease is up will leave you wishing you had walked away from that fuchsia paint.
Instead, try to add splashes of colour in a less permanent way. You can paint photo frames and add them to the wall with removable fasteners for a colourful and affordable work of art. Another option is to use fabric as wall hangings, or “wall curtains,” to help define the space. You can hang most fabrics using damage-free wall hooks.
Wall photo collages can be elevated by simply printing your photos on cardstock instead of regular printer paper. It may seem like an insignificant difference, but printing on cardstock means that your photos will not curl at the corners. Plus, the added durability will mean you can remove the photos without ripping them when moving to a new place — after all, coloured ink is a valuable commodity in university. You can even highlight your favourite photos with frames from the dollar store.
Another option is to elevate the ubiquitous door room poster by framing it. This is an inexpensive way to turn your homage to your favourite film into a classy piece of wall art — although it’s less effective at classing up starlet posters on the ceiling.
Choosing the furnishings
Storage, storage, storage. Toronto apartments are small, dorm rooms are smaller, and even as a commuter, parents tend to frown on your belongings taking over the entire house. This means that keeping the function of your furnishings in mind is essential. Does buying the super-low bed mean that you can’t store anything underneath it? Does that fashionable but tiny nightstand mean your alarm clock will have to sleep on the floor? If so, then that piece is probably not right for you.
Look for options with shelves, drawers, cubbies in essentially anywhere you can store things. Aim for a combination of hidden storage for clothing and open storage to display books and knickknacks.
Another tip is to avoid boxy, bulky furniture. Choose versatile pieces so that if and when you move into a new place, you will not have to fight with your furniture to get it to work in the space. Plus, lugging a 300-pound wall unit up a six floor walk-up will likely make the friends assisting you think twice about lending you a helping hand ever again.
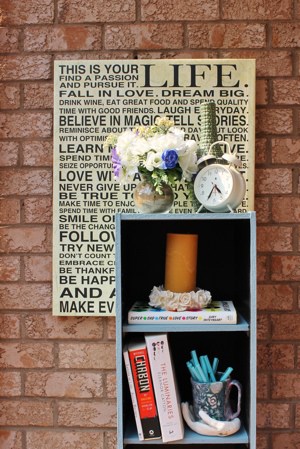
Bringing new life to old furniture
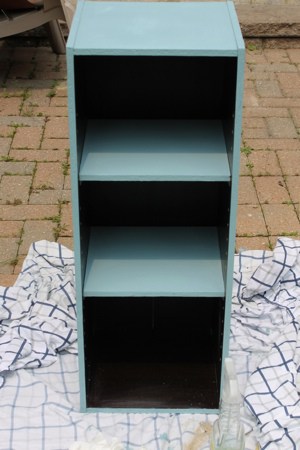
A great way to add colour and interest to your space is by painting your furniture. While stripping grandma’s antique end table is definitely not advisable, there are many ways to get your hands on old or recovered furniture without breaking the bank.
Thrift shops and flea markets are great venues to find old pieces looking for a little TLC. However, you will have to pay for those pieces and you’d be surprised at how pricey some stores and markets can get. For the frugal student, the best bet is to search your neighbourhood for yard and moving sales, where items will be priced to sell and bargaining is often welcome.
Another good option is to check the streets for items that people have thrown out — often people will place furniture items by the curb well before garbage pick-up in order to give others the opportunity to claim them. Look for items that are in fairly good shape; the better the starting condition, the easier your project will be.
Regardless of where you’re searching, look for real wood. Pieces made of pressboard — generally the “assembly required” type — do not sand or refinish well and will leave you with an unsatisfactory result. A good tip for checking if something is real wood is to look at the underside of the piece, where the wood is often unfinished. If you see a surface that bears resemblance to cork board, then it’s not real wood.
To start your project, you’ll need a few essential items.
Once you have the furniture item and necessary supplies, refinishing the piece is surprisingly easy. Here are the basics:
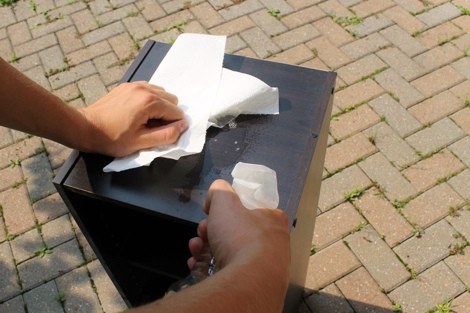
1. Give your furniture a thorough cleaning so you can tell exactly what you are working with. Look for any serious imperfections, including deep scratches or grooves that may require wood filler to fix. Wood filler is a compound used to repair damage to wood surfaces. It can be found at any hardware store and will leave the surface smooth and damage free.
2. Disassemble the piece as much as possible. Remove any hardware — knobs, handles, etc. — that will get in the way of sanding. If you’re working with a bookshelf where the shelves can be removed easily, remove them. Do not worry about completely disassembling the item. It will require a little extra care on your part when painting, but saving yourself the hassle and confusion of reassembling that kitchen chair will be worth it.
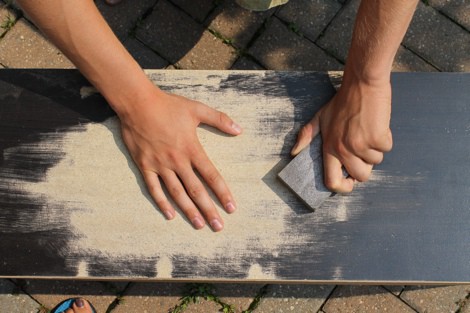
3. Sanding. The goal is to remove the current finish of the piece, whether it is stain, varnish, or paint. Start with 80-grit sandpaper. The grit number indicates the roughness of the paper, for example, 50-grit is very rough and 400-grit is very smooth.
If possible, sand your furniture outdoors and use your safety mask. It will take a fair bit of time and a lot of elbow grease, but the finish will come off. In most cases this means you’ll see a change in colour and shine — raw wood will likely be lighter in colour than the original finish, matte, and not as smooth.
Once the finish is removed, switch to 200-grit sandpaper and give the piece a thorough once-over. Using smoother paper will even out any small splinters or bumps and will smooth the surface for painting.
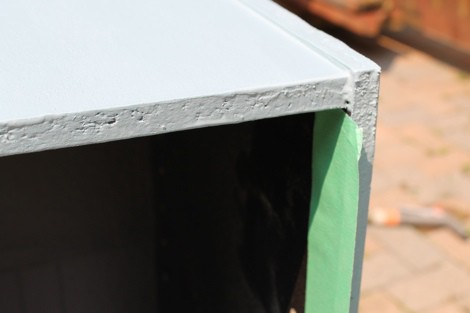
4. Give the piece another thorough cleaning. You want to get all the dust and sanding debris off before painting. Using painter or masking tape, cover any sections you want to keep paint free. You can also use the tape to create a pattern on the piece if you’re using multiple colours.
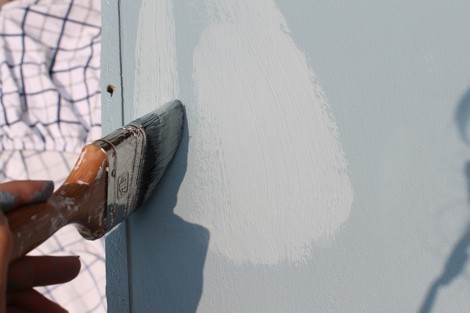
5. Painting. Before running out to the paint store, ask your parents, friends, or other family if they have any leftover paint sitting in their basement. What you will lack in colour options you’ll make up for in the money you’ll save on paint. Latex or oil-based paint work best for unfinished wood. Give the paint
a thorough mix before applying. Paint the surface in long, even strokes; you will need two or three coats. Let the paint dry completely between each coat. Sand the piece between each coat using 200-grit sandpaper. This will eliminate any imperfections in the paint.
TIP: If you’re working with a piece that has hardware, consider shopping for new handles or knobs. It’s a great way to update and modernize your furniture’s look without spending too much.
6. Display your handy-work proudly and amaze your friends and family with your DIY skills.

