
As you are embarking on a new year at U of T, these do-it-yourself projects can make your home, new or old, feel a little bit cozier. Walking into your dorm room during move-in week, an average bed and a desk will greet you, waiting for personalization — your bedroom just needs some fresh pizazz as you begin your next chapter. The following are three cheap, easy ways to spice up your space.

ROCHELLE D’SOUZA/THE VARSITY
1. Bucket Storage
Prep time: 10 minutes
If you have a small space, closet room is limited, but that doesn’t mean you can’t make use of the walls. This hanging organization unit is perfect for storing essentials, like toiletries and school supplies.

You will need: 2 metres of rope, 3 buckets, sticky notes or stickers you can write on, 1 stick-on hook
- Fold your rope in half, grab the first bucket, and make a tight knot on each side of the bucket.
- Continue stringing the next two buckets, making sure to tighten the knots on each side of the handle.
- Attach a sticky note or sticker that can be written on with a marker or chalk.
- Write down the items you will be storing in the unit, such as toiletries, cords, or school supplies.
- Hang your organization unit onto a hook and voila, you’re done!
-Mariya Kvitlana Tsap
2. Reusable Wall Calendar
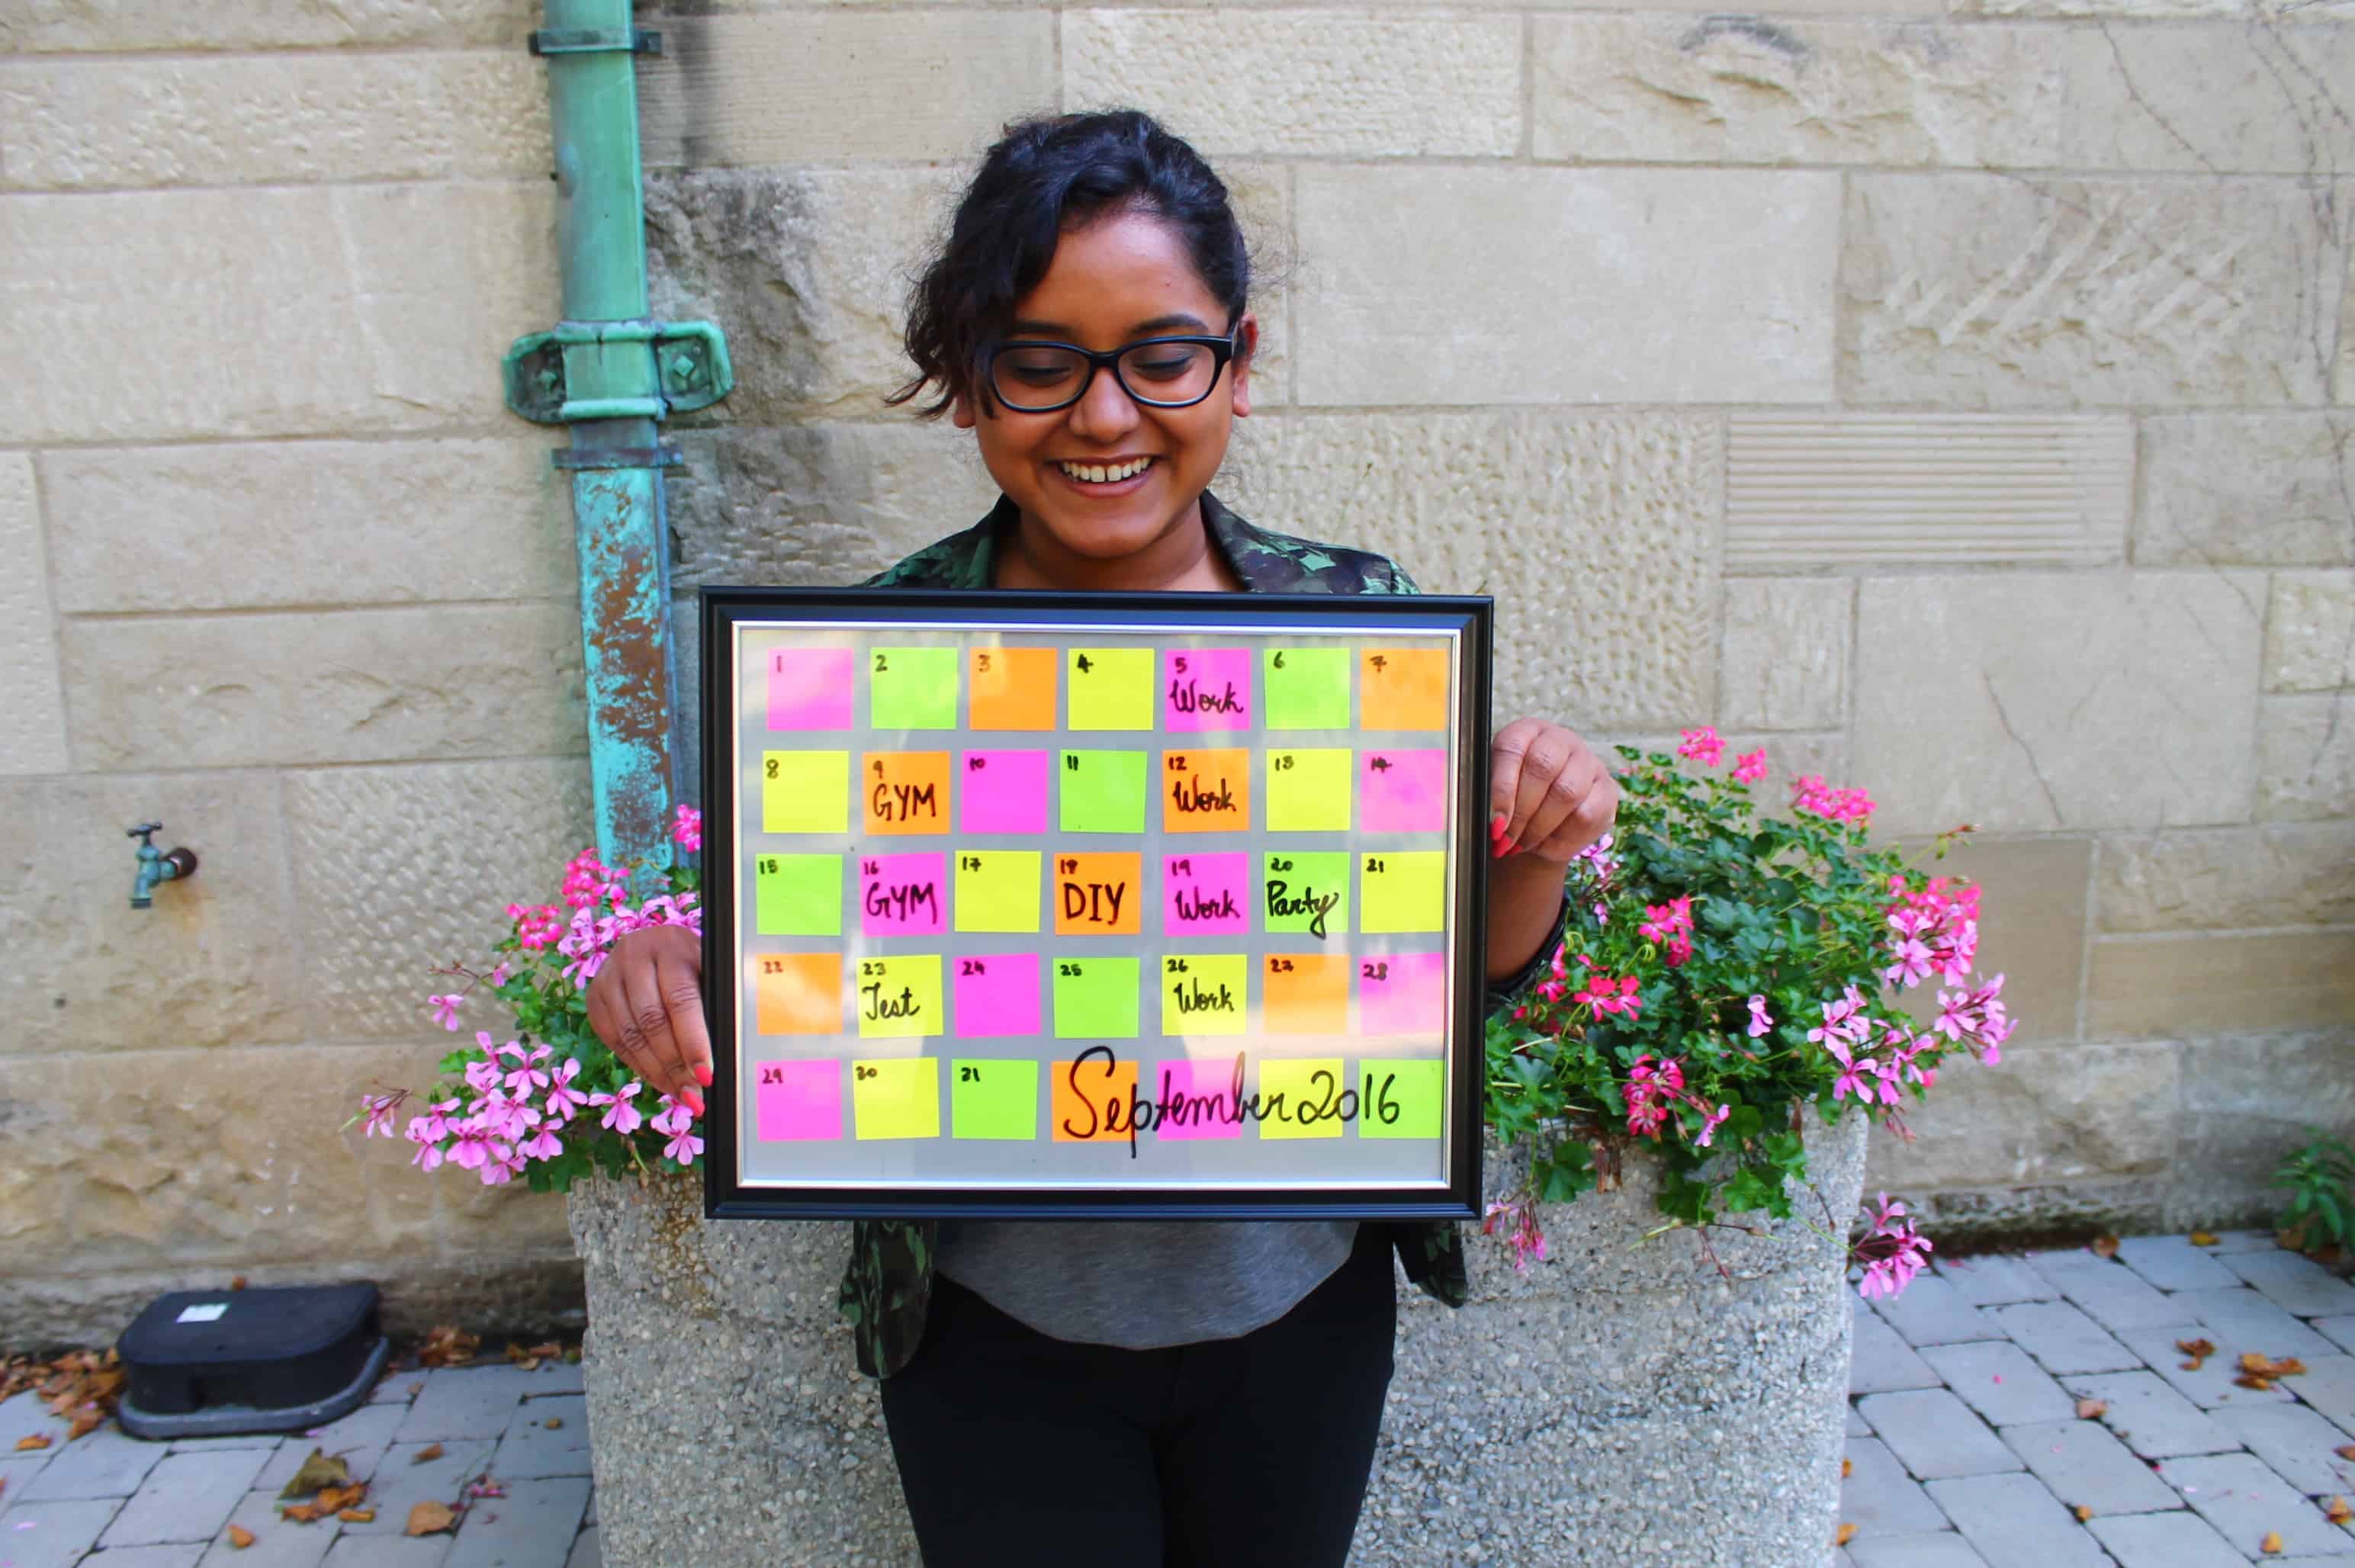
MARIYA KVITLANA-TSAP/THE VARSITY
Prep time: 8 minutes
This DIY could serve as a statement piece for your wall, as well as a useful tool for scheduling your hectic university life. On top of that, you can make it for under $6.00!
You will need: A large picture frame, colorful mini post-its, dry erase markers
- Remove the back of the frame and flip the picture that comes with the frame to the blank side.
- Using the solid color of the picture as your background, stick the post-its on in a 7×4 design, exactly like a calendar.
- Place the picture back into the frame with the post-its facing forward.
- Use the dry erase marker to write to-do lists and to schedule appointments. You can wipe it away and restart when you are finished with each task.
-Rochelle D’souza

3. Chalkboard Door Sign
Prep time: 1-3 hours
One of the things that terrified me the most about moving into residence for the first time was making new friends. I promise you will meet new people before you know it, but you can make the process a little easier with this chalkboard door sign. A welcome sign on your door is a friendly way to say hello to your new neighbours and future squad members. Hang a piece of chalk on your door so they can leave you a quick note en route to class.
You will need: Piece of wood or plastic cut to size, chalkboard paint, paintbrush, ribbon or string, hot glue, stickers, chalk or chalk marker
- Get a piece of wood or plastic pre-cut to the size you want your finished dorm sign to be. If using wood, sand the surface down until it is smooth.
- Using black chalkboard paint, paint the front and sides of your sign. Follow the instructions on your paint can to see how many coats to use.
- Once dry, get a piece of string or ribbon and hot glue each end onto the back of the chalkboard sign to create a loop. This will be used for hanging your sign on the door.
- Get some stickers to create a border along the edge of your sign. I used gold planner stickers along one side of the chalkboard to create an edgy ikat pattern.
- Using chalk or a chalk marker, write a greeting on your board. Make sure to include your name and a friendly message to let your neighbours know that they can knock on your door and introduce themselves.
-Rhiannon Langford
[pullquote-image]
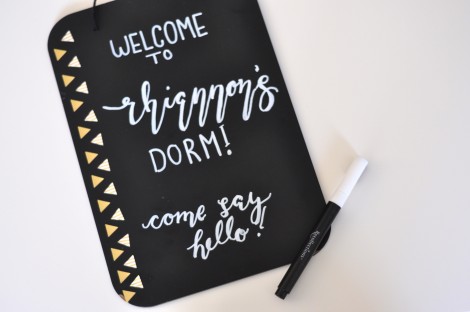
RHIANNON LANGFORD/THE VARSITY
[/pullquote-image]